Showing posts with label veil. Show all posts

Sunday, July 6, 2014

The Crochet Lace Veil Project


So some of you have followed my journey in making my own crochet lace as the border for my wedding veil. The wedding is over, and the professional pics are in, so here's the top to bottom summary of everything I did.

Step One: Decide on a pattern. I had several attempts, seen here and here. I settled on this pattern that I found online. One of the biggest factors in the decision was the way the lace works up one motif at a time, as opposed to needing a base chain that is 17' long. HUGE advantage and I am very glad I went the motif route.

Step Two:
Make the lace! Or at least until it is approximately the right length.


Step Three: Once you have what you suspect to be the correct length of lace, grab yourself a scrap piece of fabric or tulle, and cut it to the dimensions you want the final veil to be. Then starting at the beginning of your lace piece, pin it on around the edge. This is dual-purpose. It helps you make sure you have the correct amount of lace, while at the same time, it lays the lace flat (at least in perspective to the fabric) so that you can make sure you haven't twisted it before you join it into a round piece.


Step Four: Make more lace as needed. I found out that I was about 12-18" short after pinning my lace onto the tulle template. I was definitely bummed, but at least it looked pretty!

Step Five:
Now that you're done making all the lace, join that lace into a round! Add another row if you pattern calls for it, or if you want to create a more stable section for sewing it on. My pattern had a second "round" that was done in the back ch loops.

Step Six: Remove all of the lace from the template piece. Wash it GENTLY in some warm water with just a dab of dish soap. If your lace color matches the color of your dress (or whatever color you want it to be) move to Step Eight. Otherwise, you're going to want to dye your lace.


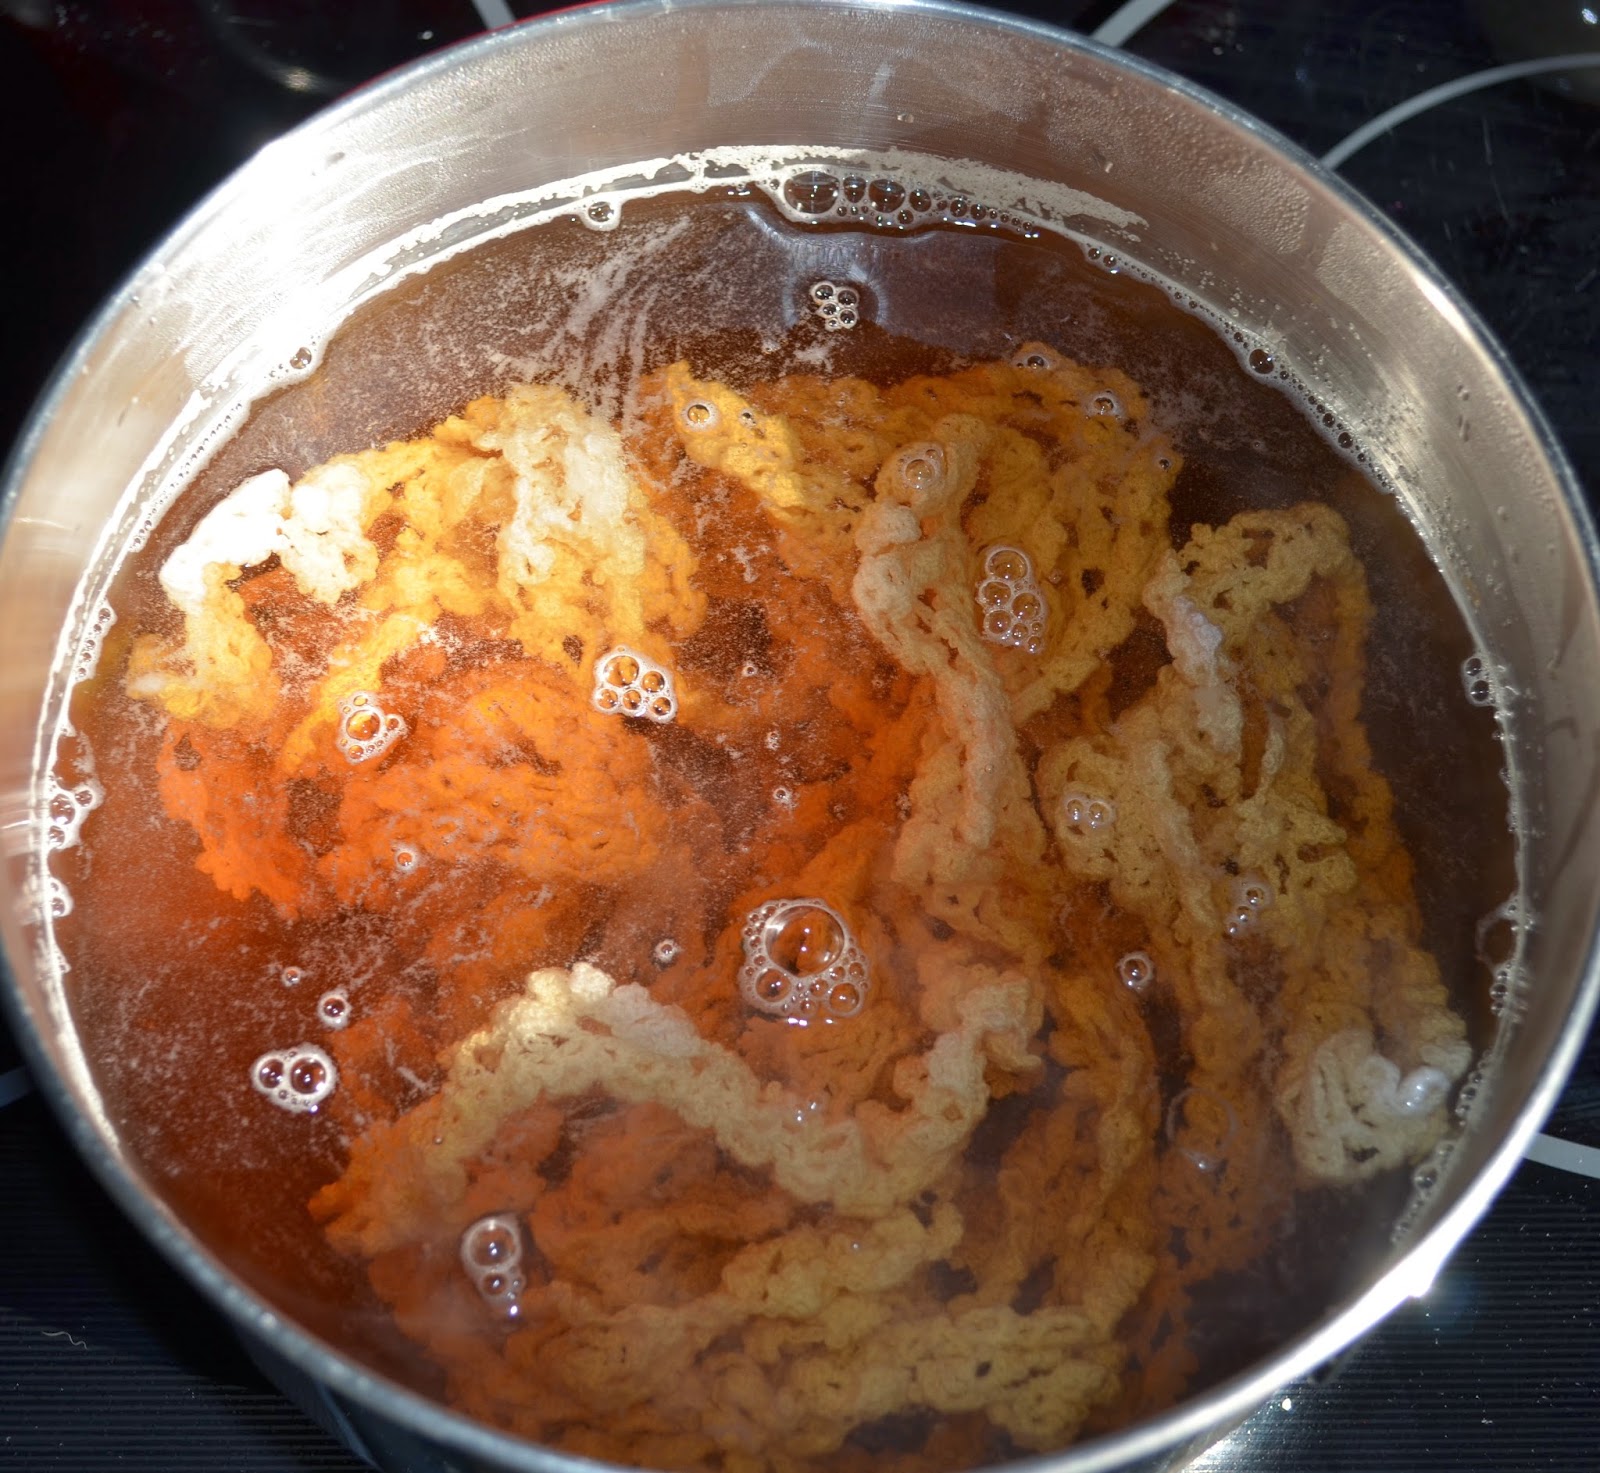
Step Seven: Tea Dye your lace. Start by test dying any samples of your thread, to make sure you know how much tea and how long it needs to soak to get the desired shade. Dye it and let it dry completely. If you are insane, you could block it now while the lace is wet. However, I am not that kind of crazy, and since my lace was cotton, I decided just to iron it.


Step Eight: Press your lace. Enjoy watching it unfold into something beautiful! Be warned, now that your lace is nice and flat and arranged, it is probably even longer than it was before. The template you made before may be too small, depending upon how much your lace stretches.


Step Nine: Call in reinforcements! Extra sets of hands will help with the remaining stages!


Step Ten: Cut the veil material (sheer or tulle) to approximately the right size. We made mine quite a bit bigger than the template. We folded it into quarters, weighted it in place with some heavy books, and used the edge of grandma's dining room table to get a nice gentle oval shape.


Step Eleven:
Pin the lace around the edge. We found that once we pinned it, our tulle was too large. We had to un-pin everything and trim just a little bit of the tulle to get it to fit correctly. I am sure there is a way to avoid this, but for us, it didn't take too much time, and it worked out alright. It was easier to cut down a little bit of tulle than to have too little - since the lace couldn't easily change!


Step Twelve: Carefully sew the lace around the edge. We hid our sewing stitches in amongst the crochet stitches, so we just used a matching ivory thread. Tiny stitches!


Step Thirteen (optional): If you want to wear the veil on a comb, decide how you want to fold it an wear it. I found some great resources to help with this step. Wrap the comb in scraps of tulle and sew them in place, then gather your veil gently on a thread, and sew the gathered section of veil onto the comb. Add sparkles if you like!


Step Fourteen: Wear it with Pride! Pass it down to friends or family who want to wear it too!


Wednesday, January 22, 2014

Tea Dye for Crochet Cotton

Those of you who follow my blog may be familiar with the ongoing saga of my crochet lace veil. I posted some of the samples I made here and here, and I have outlined my progress in photos over here on imgur.

To catch you up on things, I decided to crochet the lace to go around my bridal veil, and I've been working away on this for about a year, if not longer.

Well folks, this past Saturday, I finished the lace! 18.5 FEET of beautiful Sz 20 lace.

Except that the lace is white, and my dress is ivory. So I needed to tea dye it to match my dress.

Now, I had never tea dyed anything before, but I did have a sample of fabric from my dress shop, so that I could at least have a goal color to work off of.

I read about tea staining over on Dahlhart Lane blog, and I decided to use some of my old lace samples to run some tests.

I used 1 teabag for 2 cups of hot water. With the teabags and the lace all in a mason jar, I added the water and shook it all up. For the record, teabags EXPLODE when you shake them in a mason jar. Don't do what I did.

I removed my lace samples after 5, 10, and 15 minutes in the tea bath. Anticipating that they might be darker when wet, I waited for them to dry before comparing them to my dress fabric.


Once I knew the time I needed (5 minutes or less) I washed up my veil lace. I wanted to get rid of any residual oils from my hands, and any incidental dust or dirt. I was SHOCKED at how dark the water got. So GROSS! So I washed and rinsed the lace (using a dab of dish soap) three times total, just to be sure.
Finally it was all nice and clean again!


I prepped my bowl by adding 3 teabags and 6 cups of hot water, but I let the tea steep for a few minutes and then I removed the teabags. I was SO nervous about dunking my lace into the tea! All that hard work! But I set the kitchen timer for 4 minutes and placed it into the tea bath. After 4 minutes, the lace matched my dress sample fabric perfectly. Knowing it would dry a little lighter, I gave it another 30 seconds in the tea bath before I pulled it out and rinsed it. After a thorough rinsing, I washed it with a dab of dishsoap and laid it out to air dry. I chose not to block it at this point because, dear LORD, can you imagine pinning all of that. NO. no no no no no.


Once it was dry, it was a big ugly wad of creamy ivory. I got to work ironing it. This was the most amazing part. Time consuming, but amazing. It was so great pulling this ugly wad of material, pressing it, and having this lovely bit of lace appear on the other side!


So it is crochetted, dyed, pressed, and ready to be sewn onto tulle. I'm going to try and work with some family this weekend to get it completely finished!!!

Sunday, February 10, 2013

Lace Samplers

Well, I figure its almost crunch time for me to get started on making the lace for my veil. I'm planning to make an oval, full-length, mantilla veil that can be worn several ways and passed down to other friends and family who are getting married. Traditional mantilla veils seem to have 3-4" wide lace all around the border. Knowing that I need ~17' of lace to go all the way around my border, I think 4" is a bit over-ambitious. So I've played around with different patterns that are anywhere from .5" to 2.5" wide.

I've posted a few bracelets before, but as pretty as the lace is, I haven't loved the look of it for the veil. Here's my previous post.

And here are the new patterns I've worked up:


Similar to the lace I did last time.
Pattern #147
I wanted to keep it simple, but I like the more romantic look of a shell pattern.
Pattern #73

I went for something wider, and I really liked it.
Wide Scallop Pattern
This is probably my favorite. It has the shell pattern, but it is more of a "lacy" look than pattern #73.
Pattern #3018

So I've had several people tell me that they like the simpler edging. I can see that it would have more versatility. However, they are both worked into the base chain long-ways. Meaning I would chain 17' and then work 17' of sc into that base chain. If you've ever done base-chain work with lace, you know you can only do a limited amount in a sitting before your fingers are in agony. The larger two pieces have a short base-chain, and are then worked one motif at a time, across. This would be a bit easier on my hands. Also, I feel like if I'm going to spend approximately 80 hours working into the base chain (based on some preliminary calculations) that I would want the lace to be pretty damn impressive.

Ok, folks, what do YOU think?