So some of you have followed my journey in making my own crochet lace as the border for my wedding veil. The wedding is over, and the professional pics are in, so here's the top to bottom summary of everything I did.
Step One: Decide on a pattern. I had several attempts, seen here and here. I settled on this pattern that I found online. One of the biggest factors in the decision was the way the lace works up one motif at a time, as opposed to needing a base chain that is 17' long. HUGE advantage and I am very glad I went the motif route.
Step Two: Make the lace! Or at least until it is approximately the right length.

Step Three: Once you have what you suspect to be the correct length of lace, grab yourself a scrap piece of fabric or tulle, and cut it to the dimensions you want the final veil to be. Then starting at the beginning of your lace piece, pin it on around the edge. This is dual-purpose. It helps you make sure you have the correct amount of lace, while at the same time, it lays the lace flat (at least in perspective to the fabric) so that you can make sure you haven't twisted it before you join it into a round piece.

Step Four: Make more lace as needed. I found out that I was about 12-18" short after pinning my lace onto the tulle template. I was definitely bummed, but at least it looked pretty!
Step Five: Now that you're done making all the lace, join that lace into a round! Add another row if you pattern calls for it, or if you want to create a more stable section for sewing it on. My pattern had a second "round" that was done in the back ch loops.
Step Six: Remove all of the lace from the template piece. Wash it GENTLY in some warm water with just a dab of dish soap. If your lace color matches the color of your dress (or whatever color you want it to be) move to Step Eight. Otherwise, you're going to want to dye your lace.

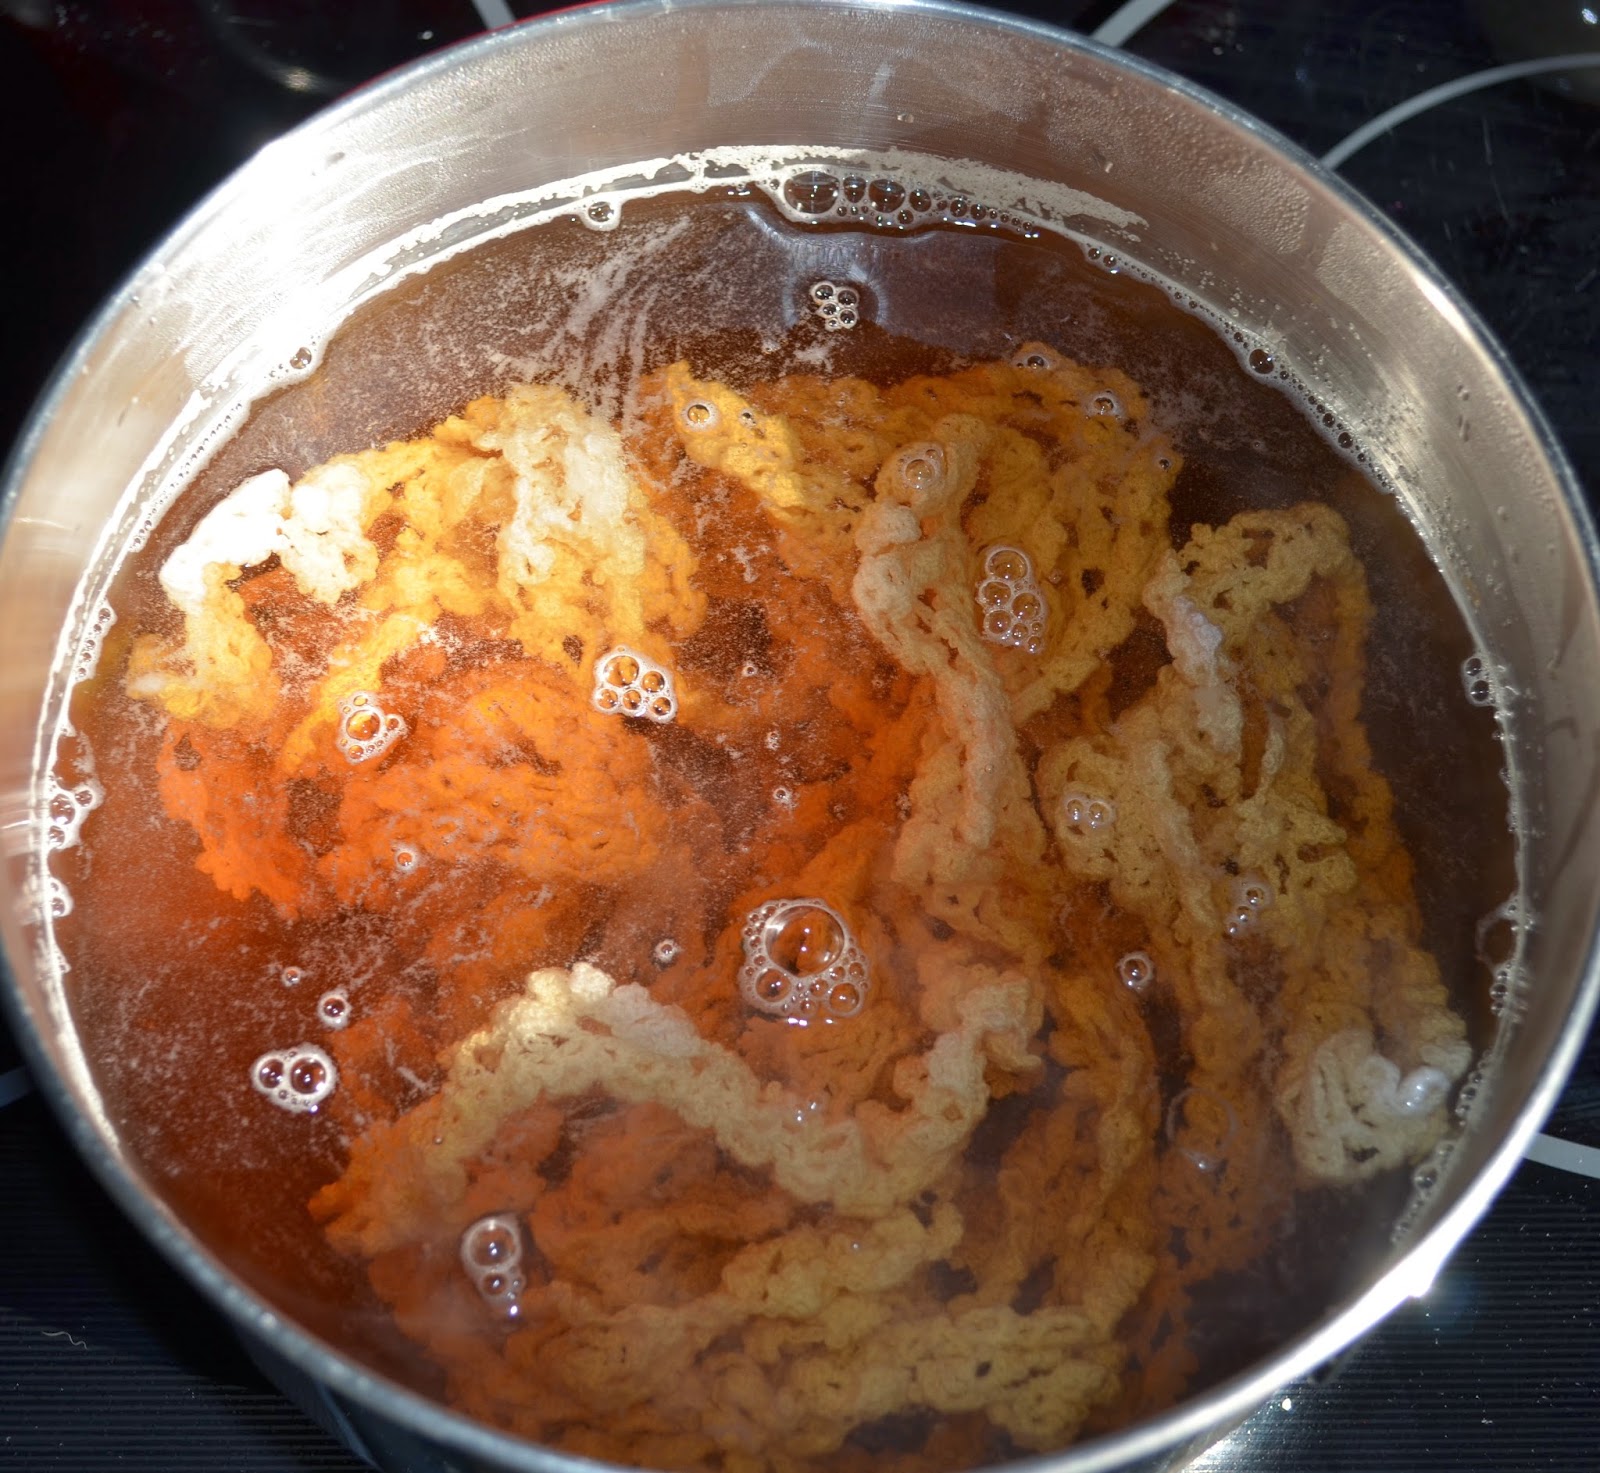
Step Seven: Tea Dye your lace. Start by test dying any samples of your thread, to make sure you know how much tea and how long it needs to soak to get the desired shade. Dye it and let it dry completely. If you are insane, you could block it now while the lace is wet. However, I am not that kind of crazy, and since my lace was cotton, I decided just to iron it.
Step Eight: Press your lace. Enjoy watching it unfold into something beautiful! Be warned, now that your lace is nice and flat and arranged, it is probably even longer than it was before. The template you made before may be too small, depending upon how much your lace stretches.

Step Nine: Call in reinforcements! Extra sets of hands will help with the remaining stages!

Step Ten: Cut the veil material (sheer or tulle) to approximately the right size. We made mine quite a bit bigger than the template. We folded it into quarters, weighted it in place with some heavy books, and used the edge of grandma's dining room table to get a nice gentle oval shape.

Step Eleven: Pin the lace around the edge. We found that once we pinned it, our tulle was too large. We had to un-pin everything and trim just a little bit of the tulle to get it to fit correctly. I am sure there is a way to avoid this, but for us, it didn't take too much time, and it worked out alright. It was easier to cut down a little bit of tulle than to have too little - since the lace couldn't easily change!

Step Twelve: Carefully sew the lace around the edge. We hid our sewing stitches in amongst the crochet stitches, so we just used a matching ivory thread. Tiny stitches!

Step Thirteen (optional): If you want to wear the veil on a comb, decide how you want to fold it an wear it. I found some great resources to help with this step. Wrap the comb in scraps of tulle and sew them in place, then gather your veil gently on a thread, and sew the gathered section of veil onto the comb. Add sparkles if you like!


.jpg)

