Tuesday, January 4, 2011

Christmas Gifts: Seamed Shrugs

I think that a basic shrug is a classic piece in anyone's wardrobe. Lucky for me, they are also rising in popularity and ridiculously simple to make. If you can make a wide scarf, you can make a shrug.

How to make a simple seamed shrug:
1. Measure the arm size by wrapping the tape around the arm at the shoulder. Add 2" to get your Width.
2. Next, put your arms out and measure from elbow to elbow, or however long on your arms you want the shrug to be. This will be your Length.
3. Also, take a measurement from the elbow (or point on your arm that you used for the Length) to the armpit. This will be your seam measurement.
4. Pick your favorite stitch, openwork pattern, or stitchgrid that can be worked in a square. Chain loosely until you reach your Width measurement. You may need to add a few stitches here to work with the stitch or openwork pattern.
5. Proceed with your pattern stitch until the piece measures 1/2 of your desired Length. Finish off your pattern then, and bind off. (if you really don't care about symmetry, you can just continue the pattern stitch until you reach the full Length, and skip to step 7)
6. Join your yarn at the same spot where you started. Begin the first row of your pattern into the back side of your original chain row, so that you will have a mirror image of the side that you already did, working in the same stitches. Continue your pattern stitch until the second arm is 1/2 of the total Length, or the same side as the other arm.
7. Do not bind off. Fold your rectangle in half long-ways. You will now seam up the arms. I chose to do this using a slip sitch from one edge to the other, but you can also use a yarn needle and sew it closed. From the end, seam up the length which you measured previosly.
8. When you reach the armpit area, fasten off and join your yarn at the other end, and seam up the opposite arm.
9. Do not fasten off when you reach the 2nd armpit. Instead, lay open the center of the garment which is unseamed, and begin making rounds of sc to border the edge. 1-4 rows of sc here looks very nice and finishes the garment.


 The purple shrug was made using the symmetrical method and the above stitch grid. If you use this pattern, you should end on an odd numbered row. The black shrug was made using the stitchgrid below. Though the symmetrical method was used, it was unnecessary.


Sunday, December 26, 2010

Christmas Gifts: Lace Bookmarks

So, I decided to take up lace work back in July and August, and I decided that the easiest projects to start with would probably be the smaller variety. A bit of searching on ravelry revealed quite the number of patterns to make lace bookmarks, so I printed them out and started on it. I worked with size 1.5mm and 1.8mm hooks and I did size 10 threads, size 20 threads, 2-ply laceweight threads, and embroidery floss. The floss was by far the most bulky to work with, but it always produced good results. Not to mention that 25yrd of floss is cheap, and easy to pick up in a variety of colors.

Here is what I made:

There are another 4 or 5 that I made but aren't in this shot, and I will try to remember to get pictures of those and upload them. From left to right, the patterns (though modified) are as follows:
Icicle Bookmark, Glittery Bookmark, Quickie Bookmark, Fan Bookmark (in embroidery floss), Maui Stitchgrid (see below), Butterfly Stitch Bookmark, Shell Bookmark, Freehand Filet Pattern, Fan Bookmark (in 2-ply laceweight), Goddess Blessed Bookmark
Maui Stitchgrid


Wednesday, December 22, 2010

Christmas Gifts: 90 Minute Scarves

So here are the scarves I made for my maternal grandfather and great-grandfather! The pattern is so simple and it works up super fast.
NEW TO CROCHET? I don't make my own videos, sorry. So check these out: http://learntocrochet.lionbrand.com/

My Yarn: Red Heart Super Saver Economy
Soft Navy + Shaded Dusk  and  Cafe + Shaded Brown*
*This color no longer includes the turquoise that it used to.

Grab your size 11mm (or larger) crochet hook, and 2 skeins of coordinating yarn.
You will work the 2 strands together as 1.

Ch 12, then Triple crochet (Yo 2x before inserting hook) in the 4th chain from the hook, and in every ch across.
For each following row: chain 4, and triple crochet into each stitch across.
Make it as long as you want (i use up the whole skein) and then add a single crochet border around all 4 sides before fastening off. Finish with a fringe on the ends.
Voila!


UPDATE 11/8/11: I've just added the pattern for a matching 30-Minute-Hat! Check it out! You'll use the same 2 strands that you worked with in the 90-minute scarf for a quick and easy matching hat!

PATTERN VARIATION:
I had several people ask me if they could do the same thing with a bulky or super bulky yarn, and the answer is yes! I prefer Lion Brand Homespun yarn and a 10.0mm hook. You will work with one strand only, as opposed to two, and I reduced the sts to DC's instead of triple crochet stitches, so if you still ch 12 for the base, you'll dc in the 3rd ch from the hook, and in every ch across. I used up almost the whole skein and it made a nice soft, long scarf. I used the remainder to add fringe!


**Ok, so I shouldn't feed the trolls, but to all of you who keep asking on allfreecrochet.com, the photos at the top were taken on my chiropractic table (much like a massage table) as it was the only surface that was available at the time. I never had ANY idea that my pattern would go any further than my local craft group, let alone become the most popular pattern on their site. Kthnxbai**

Tuesday, December 7, 2010

Humane Society Blankets

We finally finished all of the blankets that we were making for the humane society!
Here are the blankets that I made (with a lil help from Sam & Crystal):

Here's all of the blankets we made:


So a couple of us went over to the Humane Society to drop of the blankets, and they were SO touched! They were so incredibly excited that we were giving them new blankets handmade just for them that they let us give them to the puppies and kitties right away!


Sunday, December 5, 2010

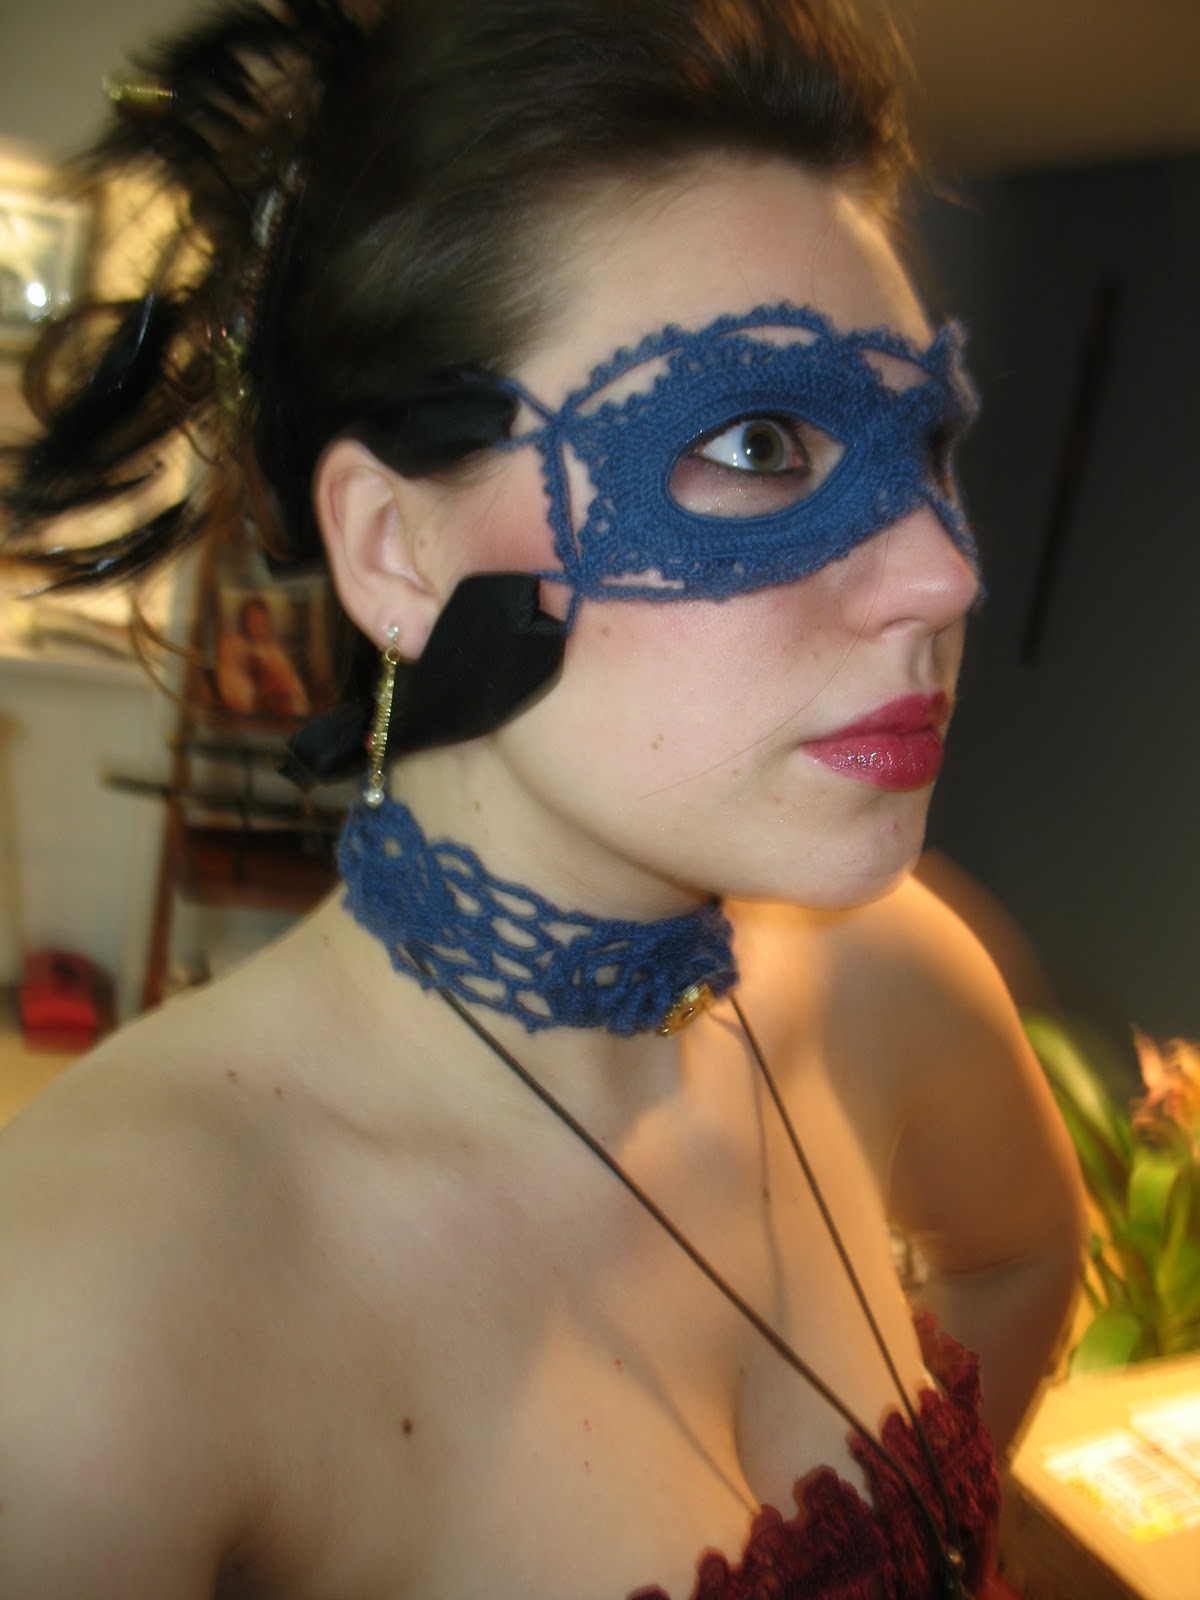
Steampunk Winter Masque

Had the chance to go to a great event at the Crack Fox in downtown STL. My steampunk outfit is still a work on progress, but I couldn't pass up the chance to wear that awesome lace mask I made a while ago.


I added a clock gear to the center of the lace choker I had made a while ago:


I also took out my trusty glue gun, my box of random steampunk crap, and some feathers I had hiding in my craft drawer from a mask I made years ago. Voila! I feathered headpiece.


So here is steampunk costume 1.0

There is much yet to do. I have an underskirt already, I just chose not to wear it. And I need to make a shrug, plus finish my backpack. Any other ideas guys???