
Sunday, February 13, 2011
Cotton Bath Loofa
Thursday, February 10, 2011
Das BeardHat
 So this season, I have had a number of people send me a link to a person on Etsy to makes this hat with attached beard. So after many requests, I decided to freehand a pattern to make them myself. It isn't identical, but it serves its purpose.
 Supplies:
Red Heart Super Saver Yarn
Red Heart Super Saver Yarn
2 colors (hat and beard)
Size 5.0 mm Crochet hook
Yarn Needle
 The Hat:
You can make any hat you so desire. Mine is made of Single crochet stitches, worked in a round. Then finished with 3 rows of fpdc & bpdc worked to form ribbing. ANY hat will work for this, even a store-bought one.
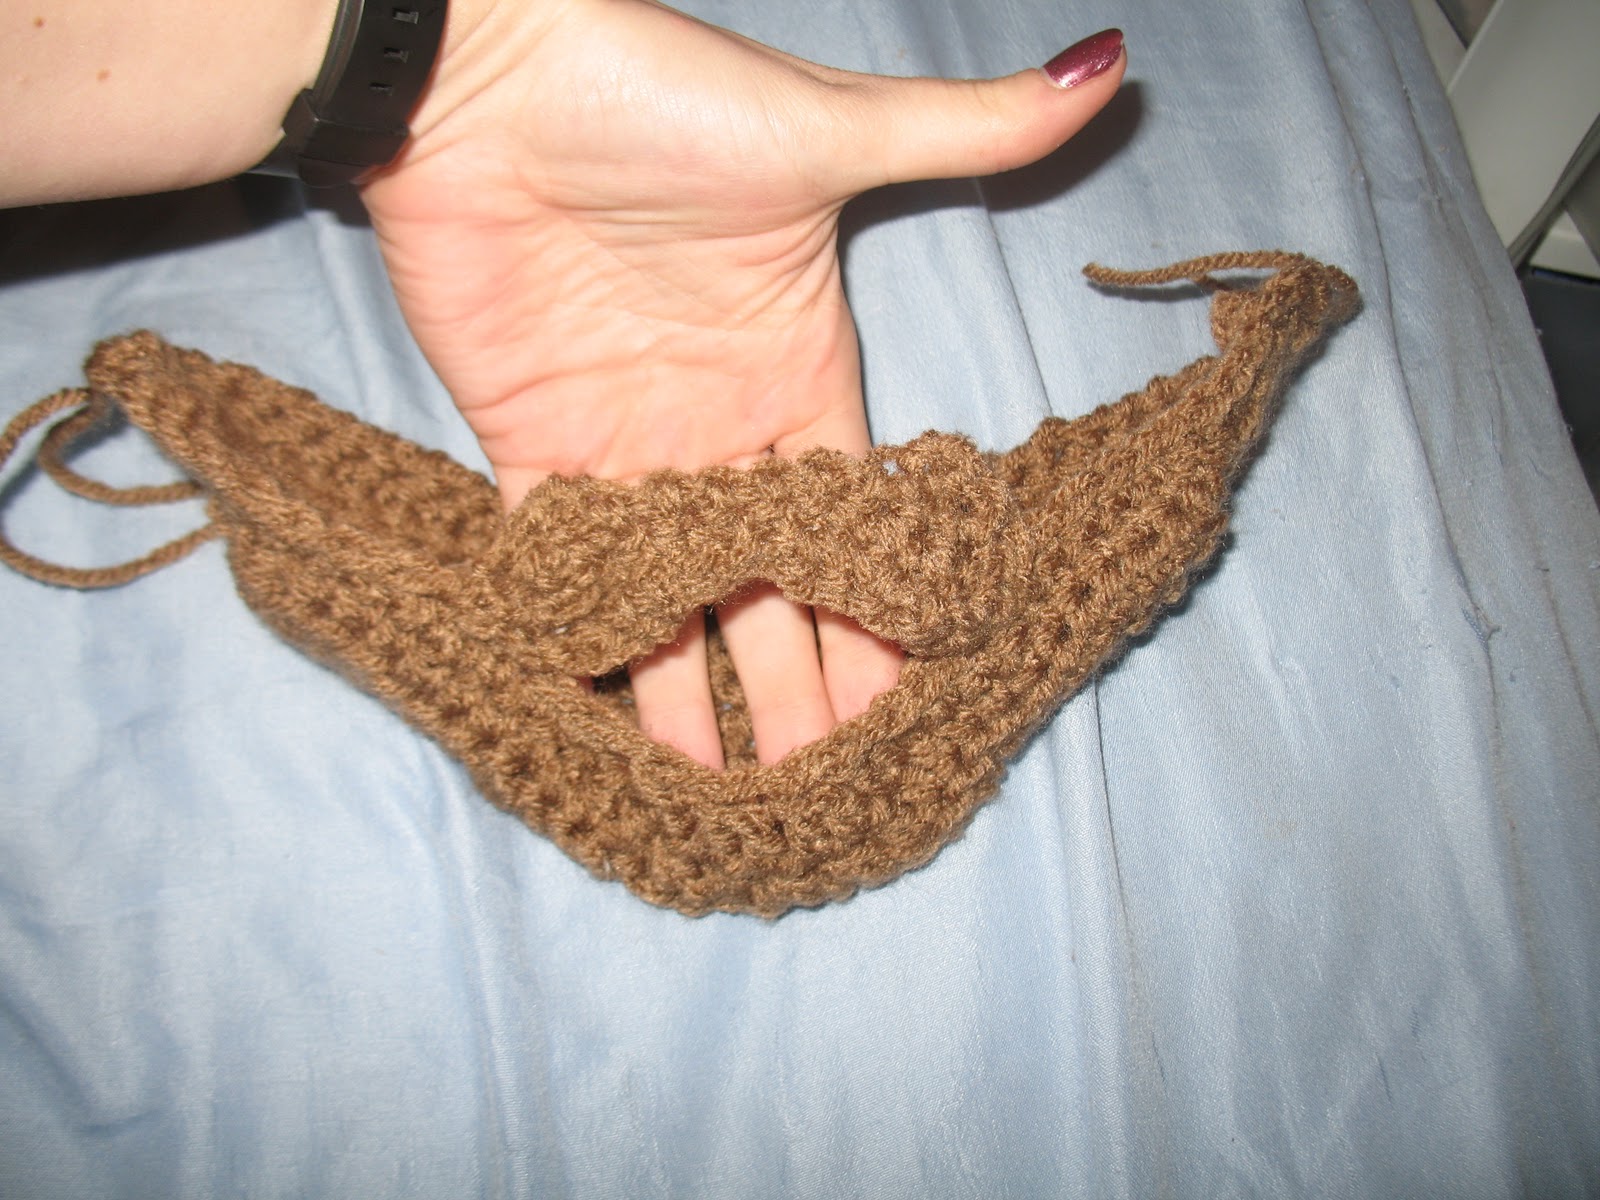
The Beard:
 Sc in next 10 sts, repeat (2sc in next st, 1 sc in following st) over the next 8 sts, then sc in each of the remaining 10 sts, ch1, turn
 Sc in next 10 sts, repeat (2sc in next st, 1 sc in following st) over the next 8 sts, then sc in each of the remaining 10 sts, ch1, turn
- Fsc 28 sts, ch1, turn (you could also just ch 29, skip the 1st ch on the hook and sc 28)
- Sc in next 10 sts, repeat (2sc in next st, 1 sc in following st) over the next 8 sts, then sc in each of the remaining 10 sts, ch1, turn
- Sc in each st across, turn
- sl st in first 9 sts, sc in next 15 sts, sl st in remaining 9 sts, turn
- Sl st in first 5 sts, sc in next 23 sts, sl st in remaining 5 sts, turn
- Sl st in first 5 sts, sc in next 23 sts, sl st in remaining 5 sts, turn
- Sl st in first 5 sts, sc in next 6 sts, hdc in next 11 sts, sc in next 6 sts, sl st into next st, leave remaining sts unworked, ch 1 turn
- sc in first 6 scs, hdc in next 11 sts, sc in next 6 sts, sl st into next st, leave remaining sts unworked, ch 1 turn
- sc in first 7 sts, repeat (2 hdc in next st, 1 hdc in following st) across the next 8 sts, sc in next 7 sts
- sc in first st , hdc in next 2 sts, 2 hdc in next st, hdc in each of the next 3 sts, 2dc in following st, dc in each of the following 5 sts, 2 dc in next st, dc in each of the next 5 sts, 2 dc in following st, hdc in each of the next 3 sts, 2hdc in next st, hdc in each of next 2 sts, sc in next st, ch 1, turn
- sc in each of the next 8 sts ( if you try it on, this should bring you to approximately the outer edge of your mouth), hdc in each of the next 3 sts, over the next 8 st - hdc2tog 4 times, hdc in each of the next 3 sts, sc in each of the remaining 8ish sts. Fasten off
- At this point, try on the beard and mark the center point between 2 sts. re-join yarn at the starting point, begin to sc around the top portion of the beard in order to smooth the lines. If you have a sharp corner, hdc2tog to help round it off. If you need further sts in the center to help the beard reach all the way to the lower lip, hdc2tog 4-6 times on either side of the center. (If this is not enough and you need more height to reach the lower lip, you can dc2tog 4-6 times on either side of the center instead of the hdc2tog.)
- Finish scs around until you have reached the other end of your original ch row. If you have a deeper chin and want more coverage under the chin, you can always just continue the scs around to the point where you re-joined. Fasten off.
The Mustache:

1. Ch11, sc in 1st ch from hook, and sc in each st across (10 sts total)
2. Without chaining, sc into the side of the sc you just made, and then into the back of the first 2 ch sts. Sl st into the back of the next ch st. turn.
3. Sl st into the top of the sl st you just made. Sc into the next 2 sts. 2 sc into the next st. sc in each of the next 4 sts. Sl st in each of the next 2 sts. Sc in next 4 sts. Sc in the end of the last sc. Sc into the back of the first 2 ch sts. Sl st into the back of the next ch st. turn.
4. Sl st into the top of the sl st you just made. Sc into the next 2 sts. 2 sc into the next st. Continue on with a sc in each of the next 4 sts. Sl st in each of the next 3 sts. Sc in each of the next 4 sts. Sl st into next st. fasten off.
 Use a few inches of scrap beard yarn to tack the edges of the mustache on to the beard, then tack the beard onto the inside of the hat, using either the hat yarn or the beard yarn depending on the placement.
Pattern Note: The hat worked perfect for the person I made if for, but I had attached the beard a little low for him, so I moved it up about ½” and tacked it using the hat yarn. This made it so that the beard overlapped the hat a little more on the inside. If making it as a gift, consider tacking it with the yarn but tie the yarn in a bow instead of a knot. That way it’s easy to adjust if needed.
Tuesday, February 8, 2011
Bathtime Suds Buddy
I recently got invited to attend the birthday party of my friend's daughter, who was turning 3. I know that 3 year olds love toys, but i just can never bring myself to give a completely useless gift. I had a bunch of pure cotton washcloth yarn in my stash, and thought it would be nice to make her a bath toy out of the yarn. I found this Amigurumi Pattern through Ravelry and figured I could adapt it to be a soap saver in addition to a bath toy. I modified the body of the pattern to be smaller than the pattern calls for, and the back is made in 2 overlapping flaps as opposed to a solid piece, to create an opening to refill the soap. This has 2 simple buttons and button holes for closure.


Subscribe to:
Posts (Atom)